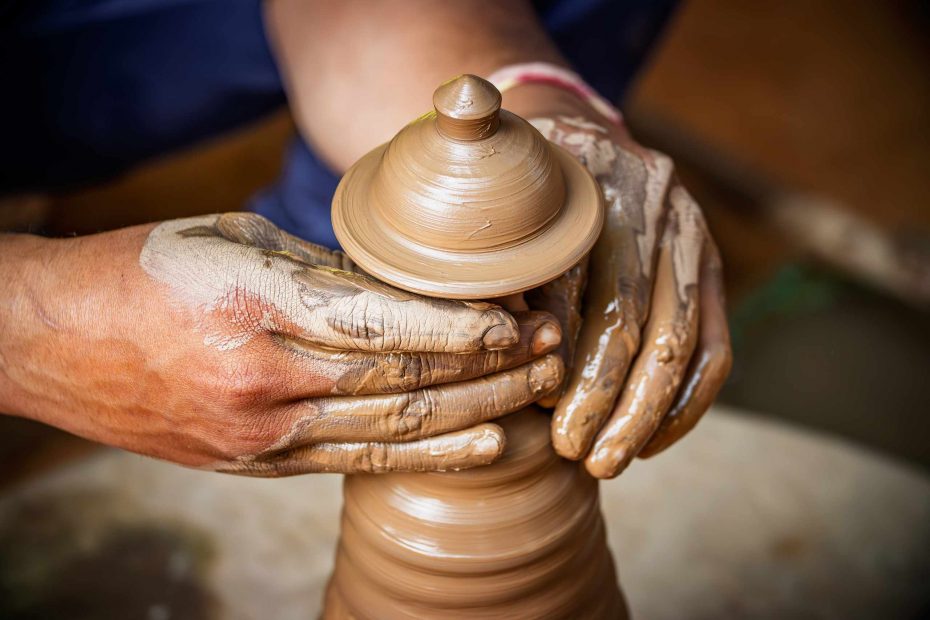
The rim is the feature most directly perceived by one’s fingertips. However, while a dish can possess a strong base and fascinating surface decoration, if the rim is too thick, rough, or unbalanced, it will detract significantly from the overall piece. Working on a rim in early pottery is more than simply tidying up an edge; it serves as a test of your understanding of water content, applied force, rim thickness, and drying time.
When evaluating the rim before you trim or tuck it, avoid viewing it solely from above. While it may appear round looking from the top, the rim of the pot might still bulge unevenly around the vessel. Try to gently rotate the form over a flat surface and observe the rim closely for high spots, sagging areas, or any portions flaring outward. Taking just a moment to evaluate these factors beforehand will give you a better idea of whether the rim needs a little support or if you might be able to avoid touching it completely for now.
A good exercise to start with is making two slab dishes where you leave the rim of one slightly thicker than necessary. Try smoothing the first with a damp sponge, while on the second, try smoothing it with a dry finger or rib tool with only a small amount of water and then compare the results. With a sponge, you can quickly soften any rough spots but you may also be applying too much water and softening the rim too much. With your dry tool, the process is more tedious but the rim remains more true to its form.
Consider thickness before neatness. Too many students try to make a rim look delicate too quickly, carving or pressing down to the point of thinning a section and leaving it too thin. This means that area will dry out faster and can develop into sharp edges or cracks. When the area below the rim already has uneven thickness, you’ll want to focus on compressing and gently shaping the rim as opposed to adding pressure. A slightly fuller rim is easier to refine than a rim that has been pressed beyond control.
Tucking the rim can make the form feel like a complete whole, especially in the case of a shallow bowl or platter; the challenge with tucking the rim is that there is a window of time you are allowed. If the clay is too soft and malleable, you may find the wall of the dish buckling when it is pressed; or, if it is too dry, it may be brittle when you try to press and curl it inward. The best time is usually when the clay can maintain its shape but still accepts some manipulation. This is why checking the drying stage is just as important as determining which tool will work for you.
You should not put any decoration onto the form until after the rim has been checked. Adding decoration will draw your eye away from the problem rim and fixing the rim will likely destroy the decoration work you already added. Run a finger gently over the rim to see if you feel any spots or protrusions. Check the base again because pressing down on the rim can alter a small piece and cause it to lose its true level. As a rule of thumb, the integrity of the rim is just as connected with that of the base as it is likely to affect the rim of a larger piece.
A refined rim need not be perfectly smooth nor machine-like. It should look purposeful and even enough to be comfortable and appropriate for the form. Before moving on ask yourself if there is more clay you can remove, if there is additional compression, if the clay has less water, or simply if you can let it set up and dry. The simple act of checking can save you from overworking the rim, leaving you with a well-formed piece that is prepared for decoration with minimum disruption.